In the April 2013 Paris Vogue I found these beautiful ribbon
belts. So let’s make some. These will
also make great gifts.

Supplies you’ll need:
Jacquard ribbon: your waist size plus 12 inches. (You can
find jacquard ribbon online or at your local fabric store.)
Belt buckle: chose a size your chosen ribbon will fit
through. (I Found two of mine at an antique store and the third at a Fabric
store) Look around your house for an old belt and cut the buckle off or at a
garage sale and then pick a ribbon that will work.)
Access to a sewing machine
Thread to match your ribbon
Grommets to match the buckle you chose and Grommet tool (you
can get these at your local fabric store.) But try to borrow the grommet tool
they’re expensive.)
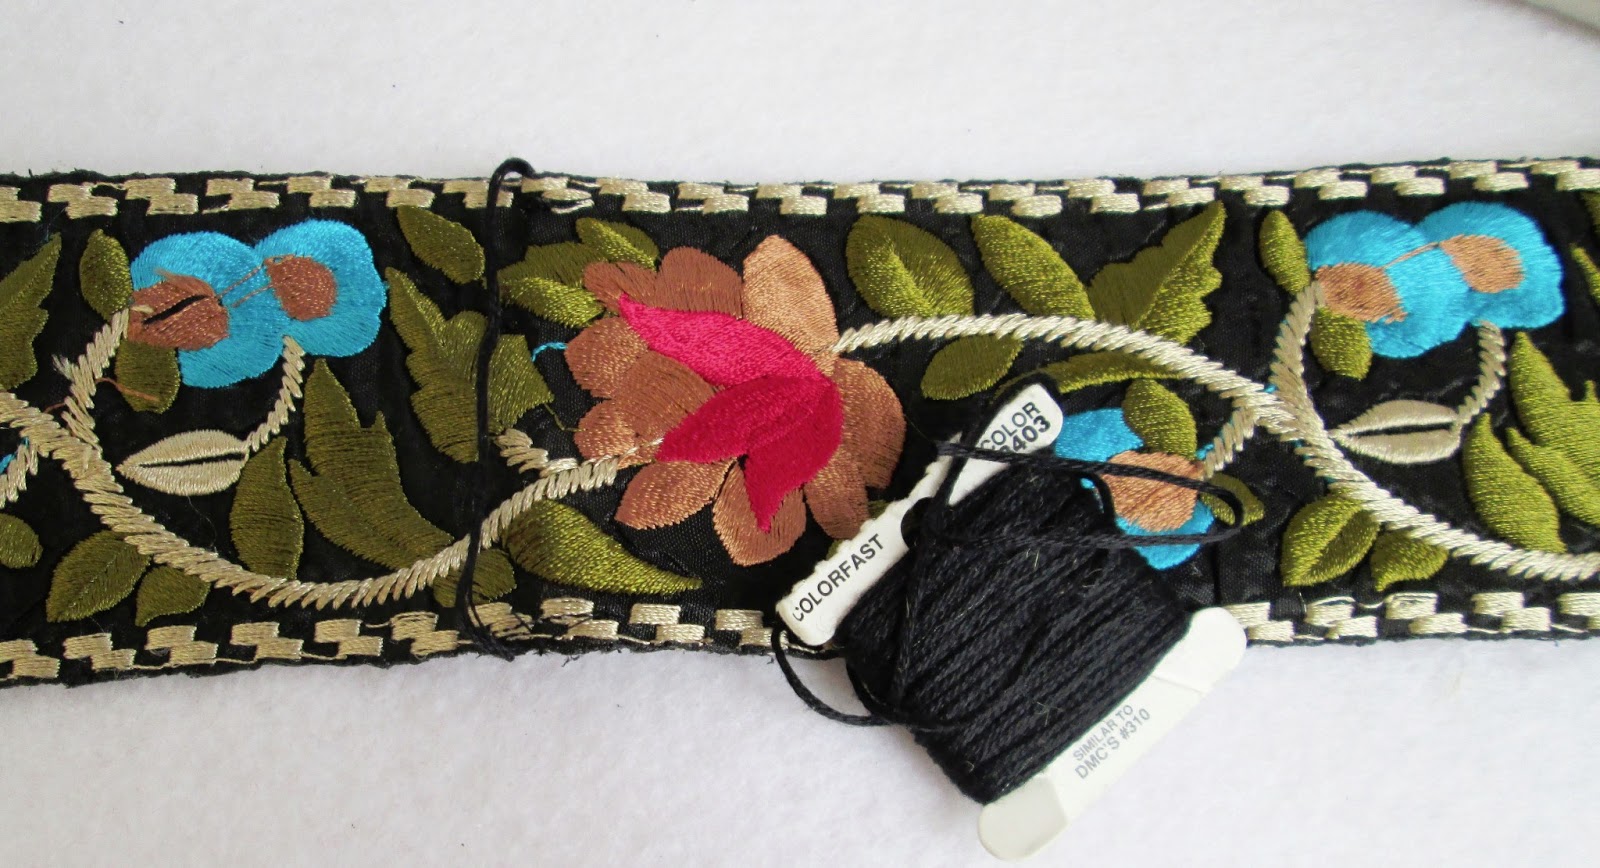
Embroidery Thread to match ribbon


To make the turquoise belt with the modern belt buckle: I
bought the buckle at Joanne’s fabric store and found the ribbon at an out door
market. (This belt you should only make if your weight does not fluctuate much
because it’s only one size)

1) Slide your ribbon through one side and pull enough ribbon
through the loop until you can sew it on. Now sew it in place. (I did two rows
of stitching.) See photo.
2) Slide the other belt piece onto the ribbon then fit it on
your self sitting down with clothes on. Pull the ribbon to fit, then pin in
place.

3) Stitch in place.

4) Cut off excess. If your ribbon is the kind that unravels
place a little white fabric glue along the unfinished ends to keep them from
unraveling.

Black Belt and Old Buckle
I found this Buckle at an antique mall and the ribbon at an
outdoor market.

1) Measure the length of ribbon you will need to pull
through your buckle in order to sew it on. (See photo)

2) Mark a hole where the belt buckle prong should come
though. Make a hole. I used a small hole punch but you can use a nail. After
making the hole place a little white fabric glue around the edges in order to
keep the fabric from fraying. (See photo)
3) Now put the ribbon through the buckle and place prong
through the hole.

4) Stitch ribbon in place.
5) Try on your belt and decide on the placements for your grommets.
I put my first grommet at my waist size and added three more an inch apart. Make
sure they are in the middle of the ribbon. (see photo)

6) With the hole punch (the hole must be smaller than the
grommet so that the grommet can grab the sides of the fabric.) punch holes in
the places you marked. Push the grommet through with the right side of the
grommet (the flat side is the right side) on the right side of the ribbon.

7) Use your grommet tool with the pointy side going into the
tube side of the grommet and squeeze your tool. (This will bend the grommet and
hold it in place.) You will not be able to remove the grommet so do a couple of
tests first.)

8) Finish the end of your ribbon by folding it over a 1/4”
and then a 1/4” again and stitch it in place.
9) Final step take a piece of embroidery thread knot the end
and sew it on to the back of your belt. (This is so that the excess of your
ribbon belt can be placed through it and it won’t hang down.) Now loosely pull
it across the front of your belt and knot the embroidery on the other side and
stitch to the back of the ribbon.


For the pink belt: do the same process as the black belt.


This comment has been removed by the author.
ReplyDeleteThis comment has been removed by a blog administrator.
ReplyDelete